If you’re a student in the US, you already know how overwhelming academic life can be. Tight deadlines, multiple assignments, part-time jobs – it’s no surprise more students are turning to essay writing services for support.
But here’s the catch: choosing the wrong service can lead to plagiarized papers, poor quality work, or even outright scams. With so many platforms out there claiming to be the best essay writing sites, it’s hard to know which ones are actually trustworthy.
That’s exactly why we created this guide.
We personally tested five of the most popular services, analyzed thousands of customer reviews, and dug deep into each company’s reputation on platforms like SiteJabber, Reddit, and Trustpilot. The result? An honest, no-fluff breakdown of the best essay writing sites to help you make a safe, informed choice.
Stay tuned – there’s even a promo code for your first order coming up!
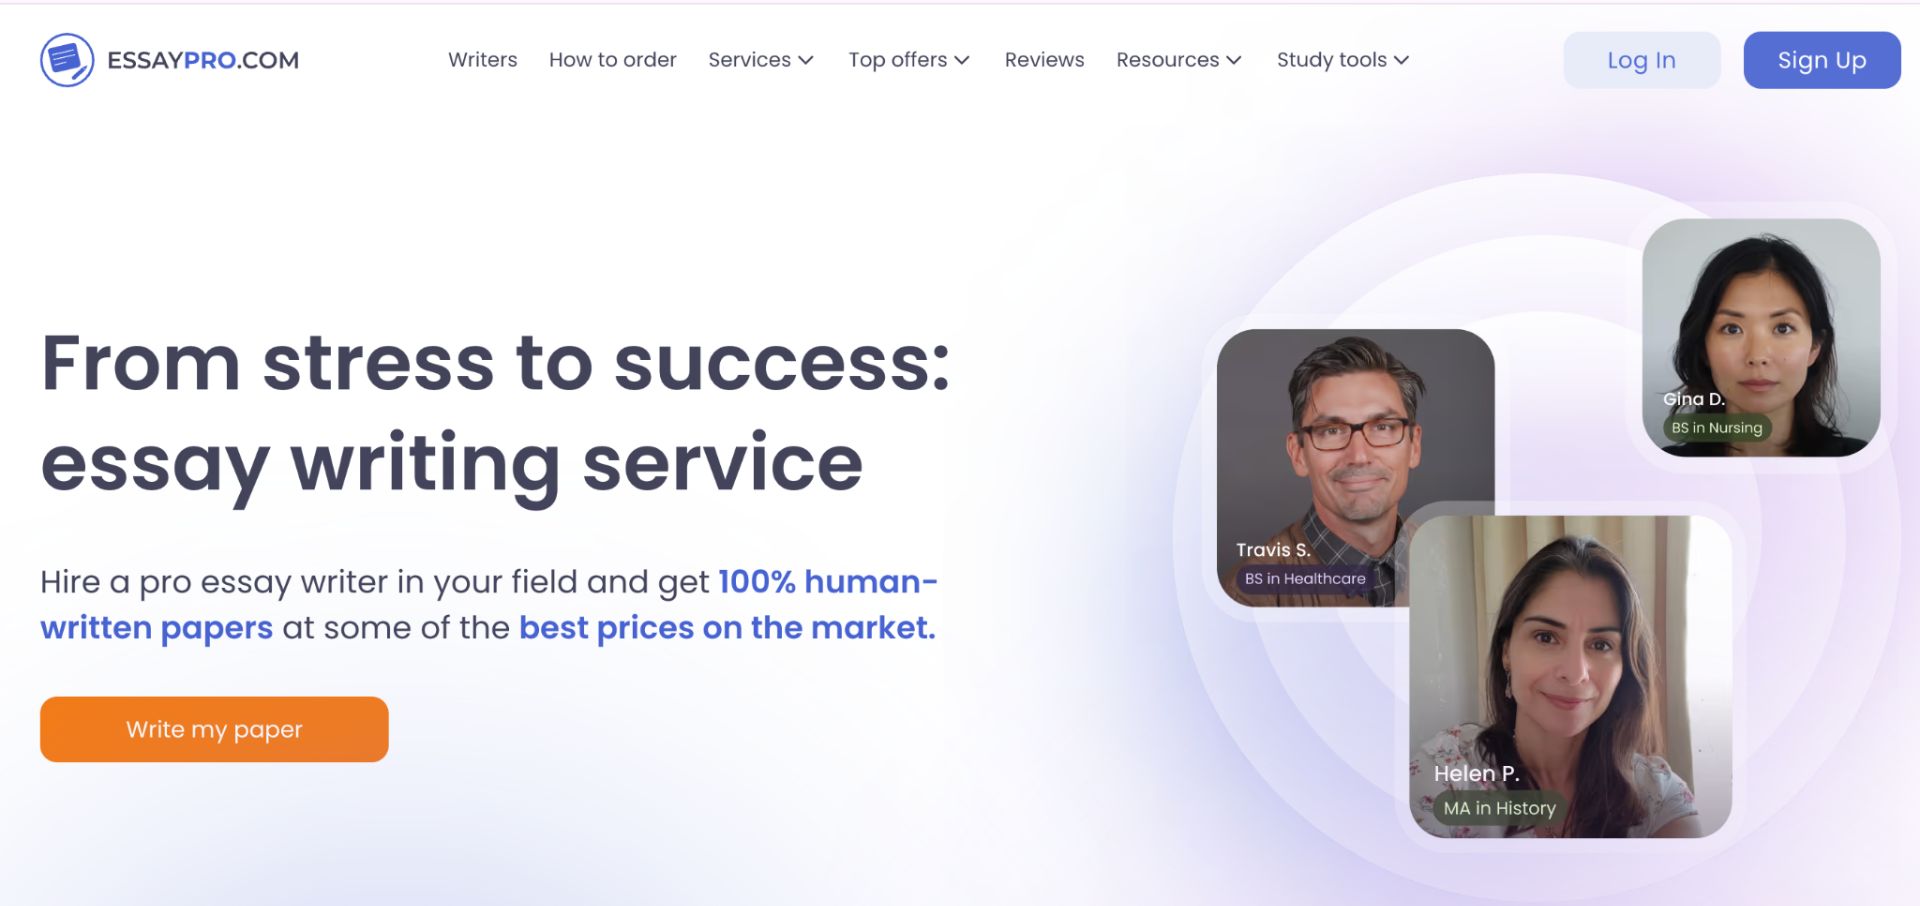
EssayPro
What is EssayPro and What Services Does It Deliver?
EssayPro, dubbed as the best college essay writing service, has been around for over a decade and has built a solid reputation as one of the best essay writer service options available. It’s frequently recommended on Reddit and academic forums, especially for students feeling overwhelmed by tight deadlines.
EssayPro isn’t just about essays. It offers writing, editing, and proofreading help for virtually any paper type, across all academic levels. One of its standout features is that students can choose their own writer based on reviews, qualifications, expertise, and even top subjects they’ve covered.
You’ll get plenty of free perks – a plagiarism report, unlimited edits, and real-time chat with your writer.
Rating and Reviews:
- SiteJabber: 4.8 stars from 30,800+ reviews
- REVIEWS.io: 4.5 stars from 750+ verified reviews
Students consistently place EssayPro as the top rated essay writing service for its speed, professional writers, and high originality.
First Impression:
The signup process is simple and fast – placing your first order takes less than five minutes. Once your order is in, you can immediately communicate with potential writers via the chat feature to ensure you’re picking the right fit.
Use promo code MWI3QM to get 15% off your first order!
Pros:
- Wide selection of writers across subjects
- Real-time chat with writers
- Free plagiarism report and unlimited revisions
Cons:
- With dozens of writers bidding, beginners may feel overwhelmed choosing the right one
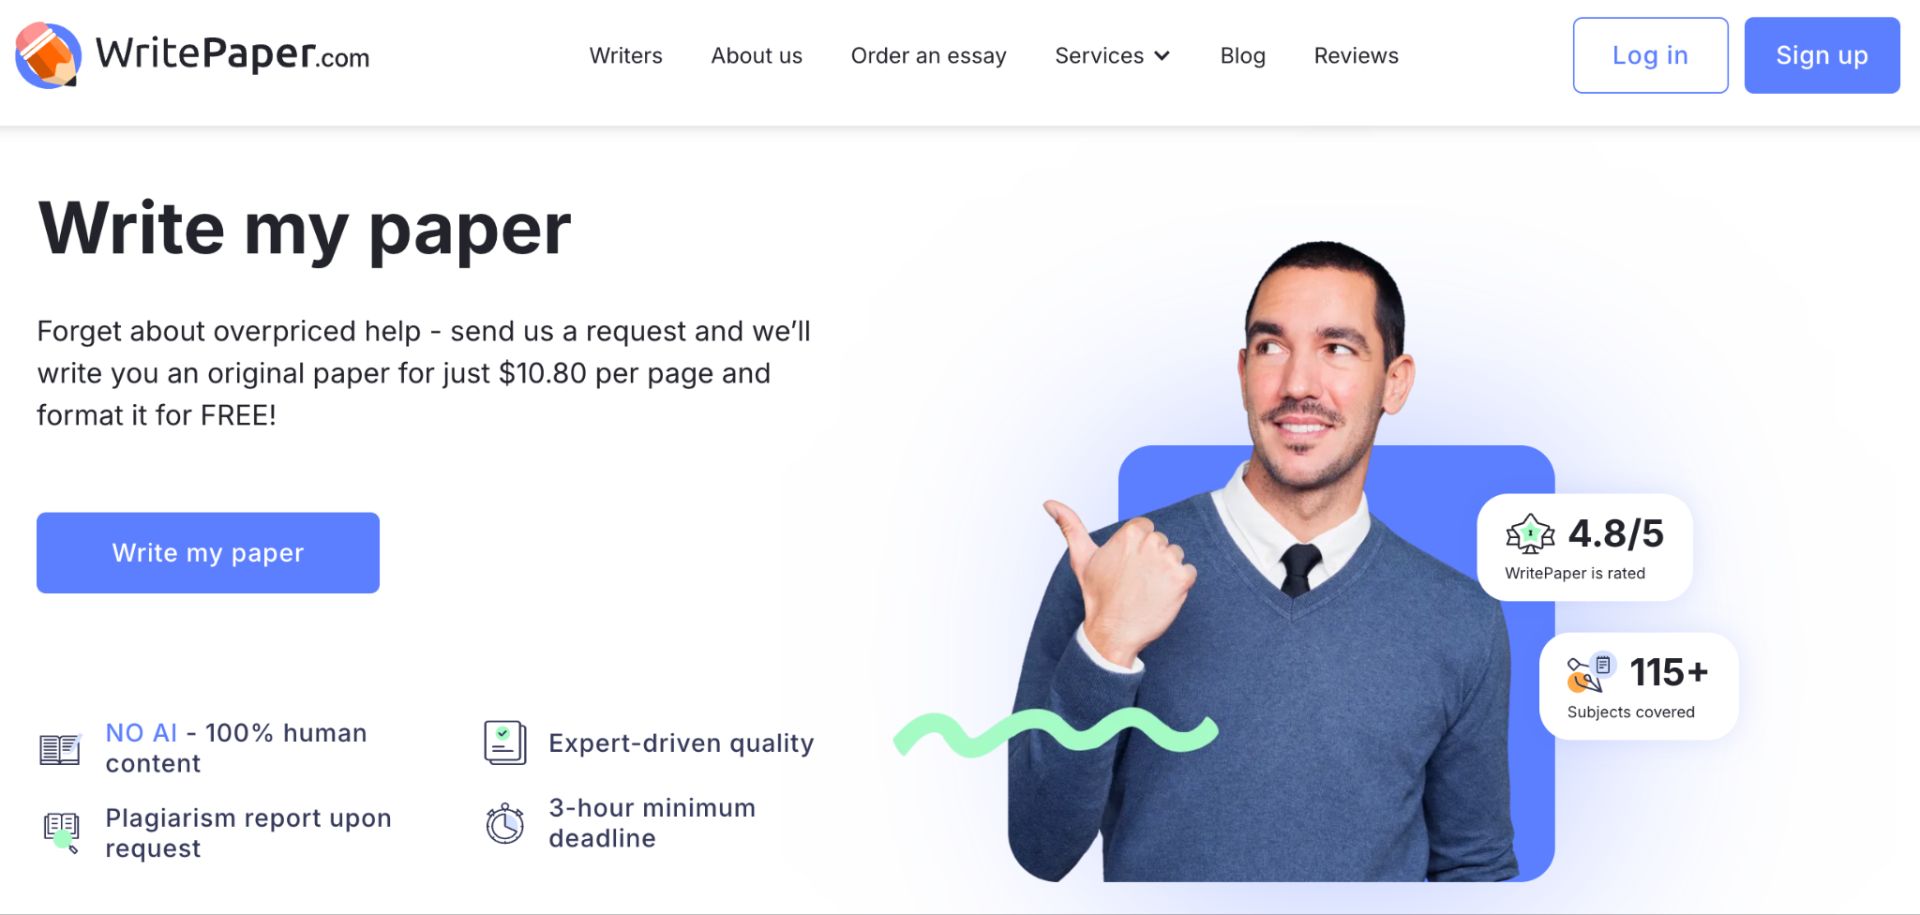
WritePaper
What is WritePaper and What Services Does It Deliver?
WritePaper is a clean, student-focused best essay writing service designed for those who value structure and reliable delivery. It’s ideal for urgent assignments or projects where neat formatting is a priority.
Beyond standard essays, WritePaper covers a wide range of academic formats, including niche options like book reviews, discussion posts, and reflective papers – perfect for modern academic requirements.
Rating and Reviews:
- SiteJabber: 5.0 stars from 990+ reviews
- ResellerRatings: 4.8 stars from 120+ reviews
Reviewers emphasize WritePaper’s last-minute reliability, high-quality formatting, and strong thesis development.
First Impression:
We were impressed by this best online essay writing service and its professional tone and fast turnaround. The minimalistic site is easy to use, packed with features, and perfect for beginners or those needing quick, structured help.
Make sure to use promo code GG7PGS to get 15% off your first order.
Pros:
- Strong focus on formatting and thesis clarity
- Reliable, on-time delivery
- Straightforward ordering process, ideal for beginners
Cons:
- During peak seasons, top-tier writers may be harder to secure
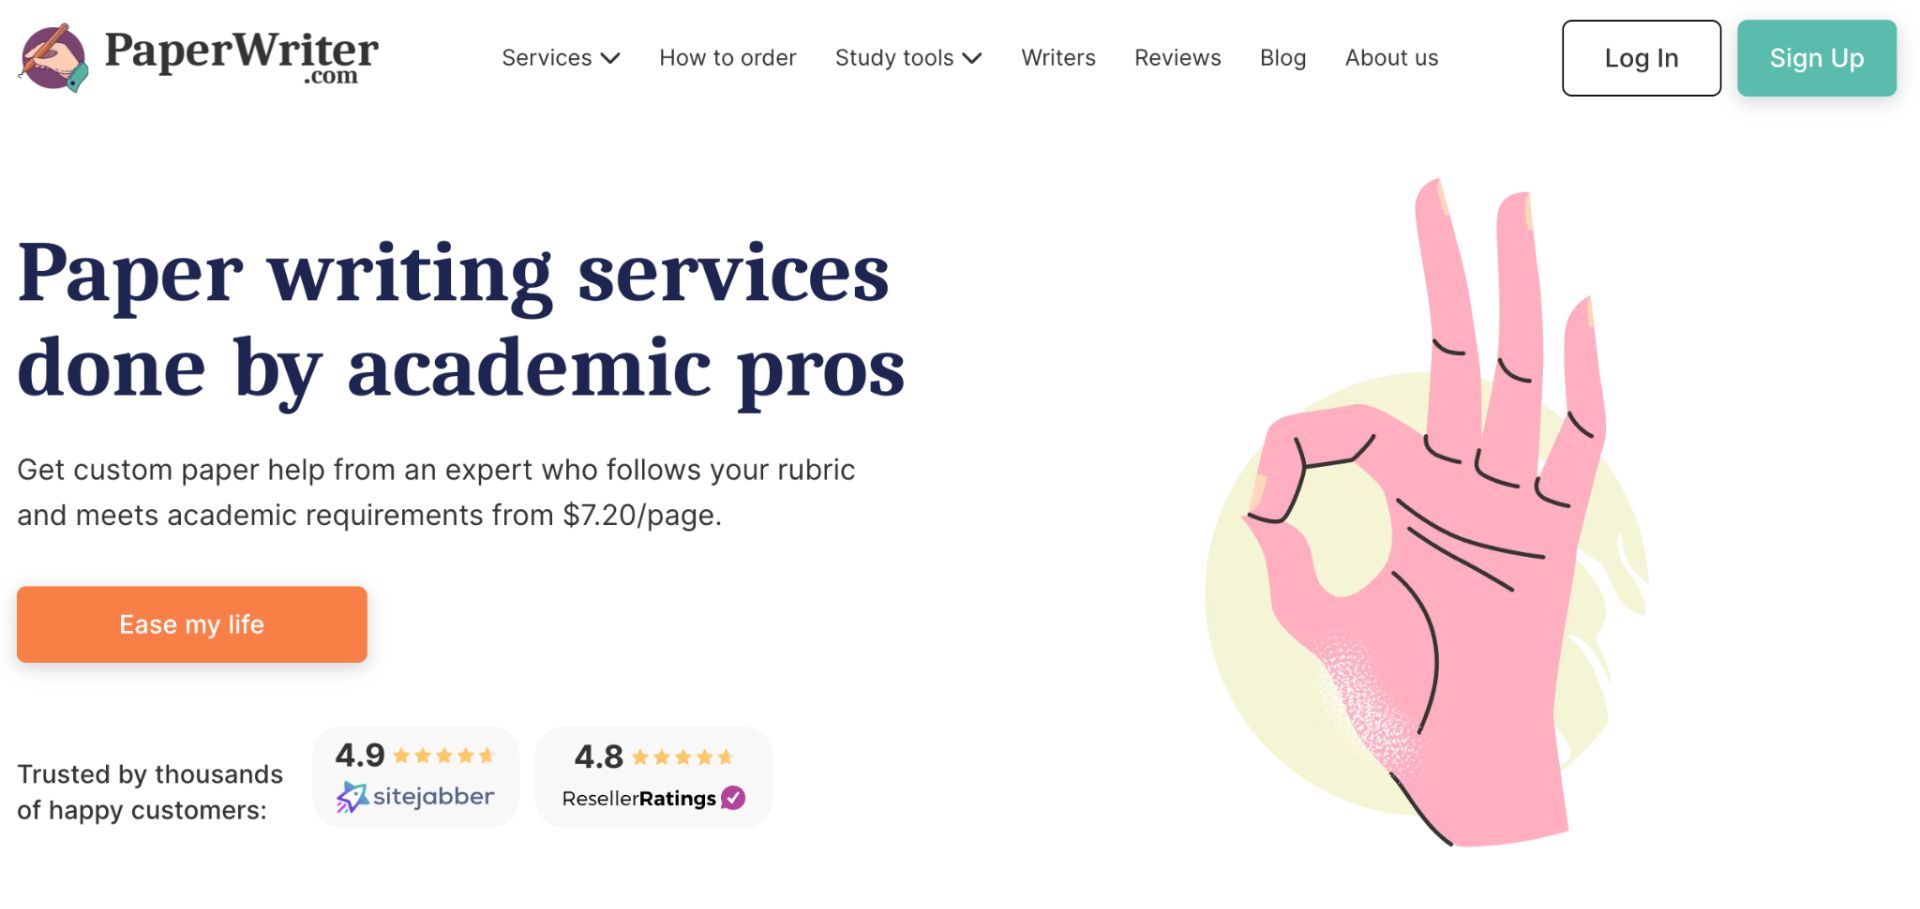
PaperWriter
What is PaperWriter, and What Services Does It Deliver?
PaperWriter, as one of the best essay writing websites goes beyond simply delivering papers – it’s also a great learning tool. Completed papers serve as real-world examples, helping students better understand academic structure, argument development, and citation.
The platform offers writing, editing, and proofreading for essays, research papers, and more – perfect for improving academic skills over time.
Rating and Reviews:
- SiteJabber: 4.9 stars from 820+ reviews
- ResellerRatings: 4.8 stars from 120+ reviews
Students often mention logical structure, argument clarity, and reliable support as key strengths.
First Impression:
The dashboard is intuitive, and the ordering process is smooth. Customer support was responsive and walked us through each step.
Use promo code 3RTUQQ to save 15% on your first order.
Pros:
- Excellent learning tool with real academic examples
- Free and paid add-ons available
- Direct communication with subject-specific writers
- Easy-to-use ordering system
Cons:
- Some valuable extras, like detailed outlines, aren’t included in the base price
For those looking for the best essay writing service in US, PaperWriter is a smart, educational choice.
MyPaperHelp
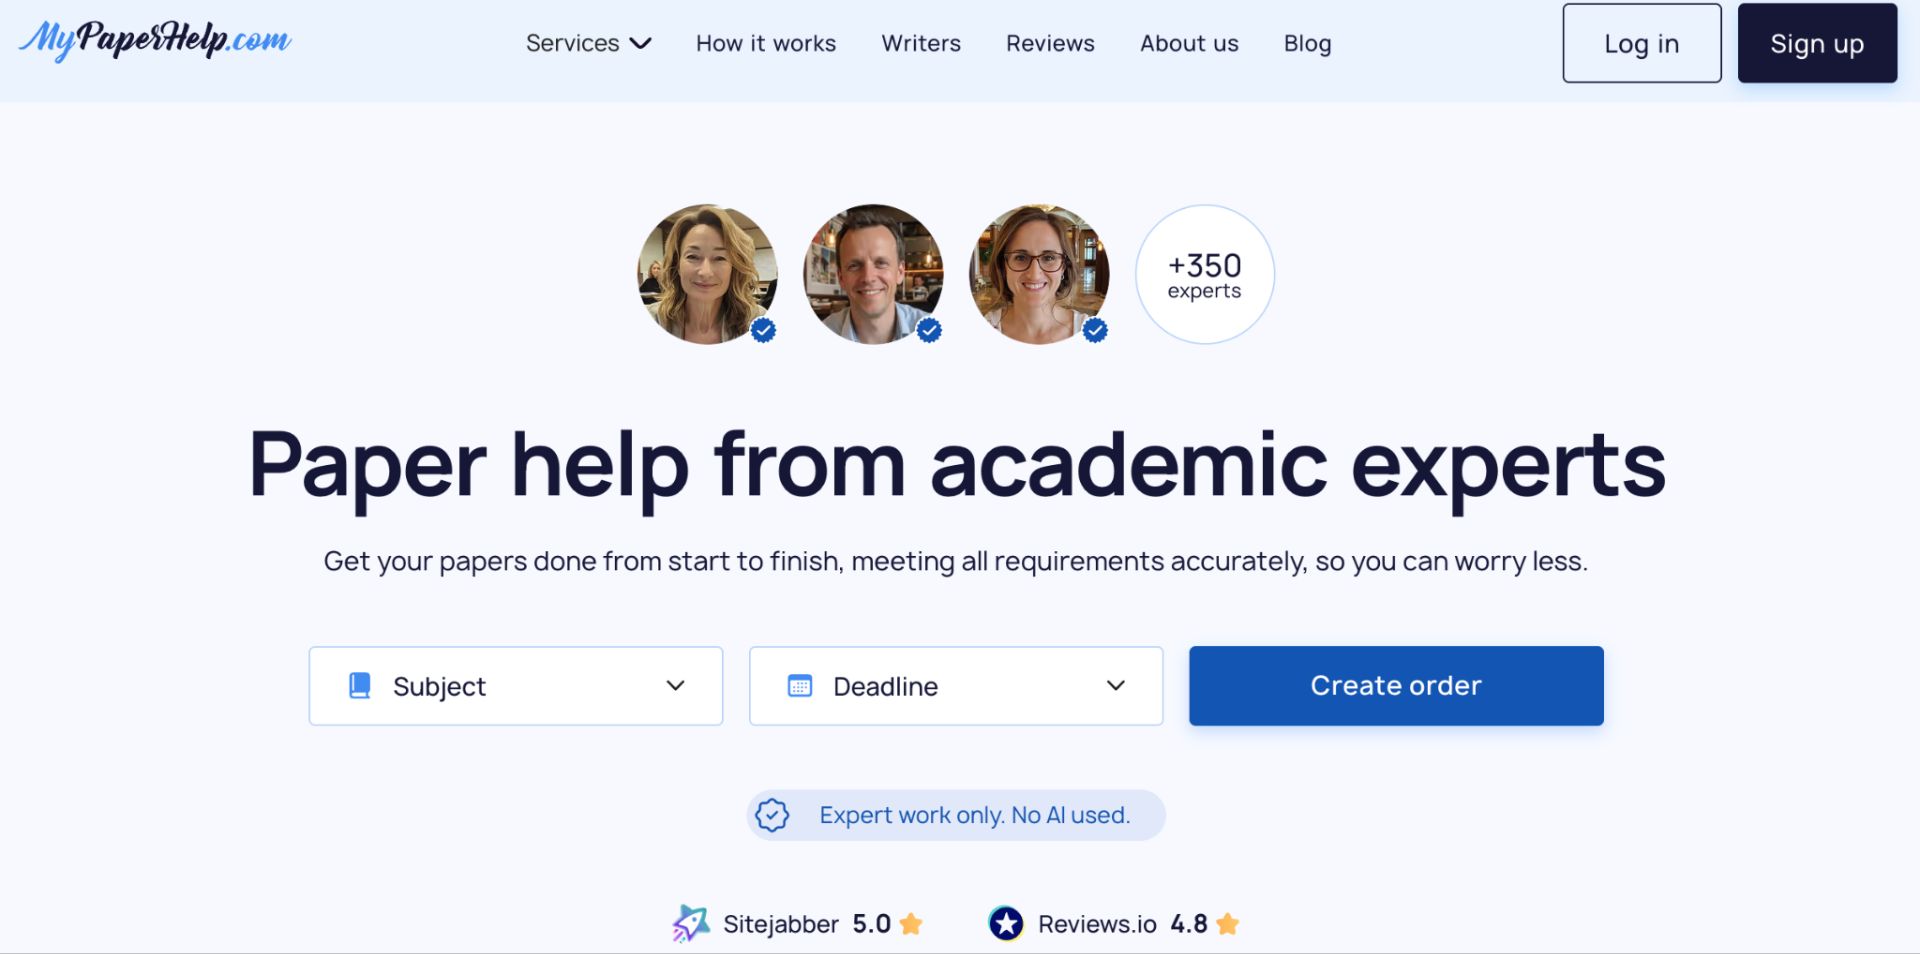
What is MyPaperHelp, and What Services Does It Deliver?
MyPaperHelp offers affordable, no-fuss writing assistance for students. Known for its simplicity and strong versatility, it’s ideal for students on a budget who still want reliable academic help.
It covers essays, case studies, lab reports, and more, with unlimited revisions to ensure you’re satisfied.
Rating and Reviews:
- SiteJabber: 5.0 stars from 340+ reviews
- REVIEWS.io: 4.8 stars from 90+ reviews
Students appreciate the balance between affordability and quality.
First Impression:
The simple website helped us get started in minutes. Transparent, upfront pricing means no hidden fees.
Use promo code QE96KS to get 15% off your first order.
Pros:
- Affordable rates for students
- Free unlimited revisions
- Versatile writers for a wide range of subjects
Cons:
- Occasional delays in writer responses during peak seasons
For the best custom essay writing services without overspending, MyPaperHelp is hard to beat.
EssayService
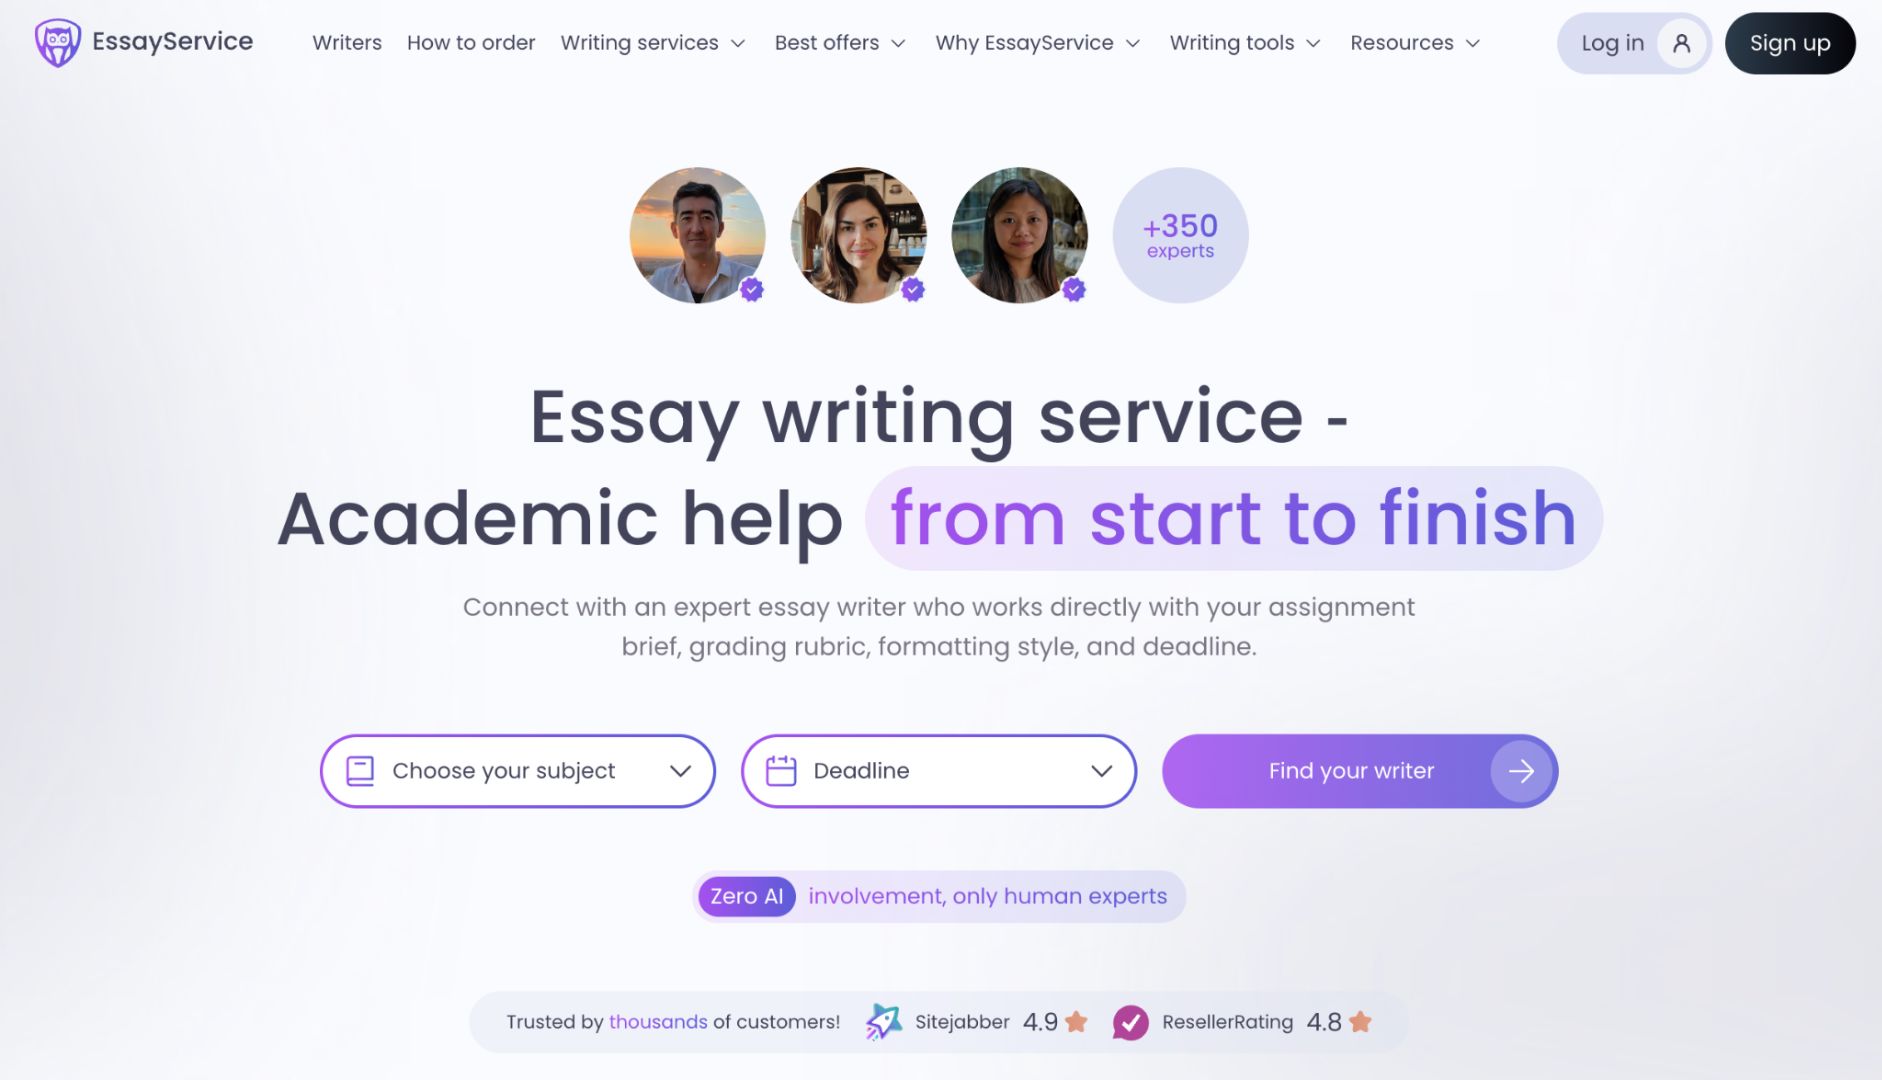
What is EssayService, and What Services Does It Deliver?
EssayService is a top essay writing service that combines classic academic writing help with smart tools like the Homework Planner, ideal for students managing tight schedules alongside academic demands.
The service covers essays, citations, college applications, and project planning, with tools to help you stay organized.
Rating and Reviews:
- SiteJabber: 4.9 stars from 6,800+ reviews
- REVIEWS.io: 4.6 stars from 190+ reviews
Students appreciate the site’s transparency, scheduling tools, and consistent paper quality.
First Impression:
The site is well-designed with easy access to academic tools. We were matched with a writer quickly, making the process smooth.
Use promo code AGJ5MU to get 20% off your first order.
Pros:
- All-in-one academic platform
- Accurate deadline management
- Professional writing and formatting
Cons:
- Prices may be slightly higher for new users
For students seeking the best essay writing website with structure and organization, EssayService is a reliable pick.
Conclusion
Finding the best essay writing service reviews is essential for academic success. After real testing and analyzing verified reviews, we confidently recommend these five services as safe, affordable, and high-quality.
Whether you need budget-friendly options, fast delivery, or useful tools like outlines or homework planners, there’s a service to suit your needs.
Use these platforms responsibly – they’re here to support your studies, not replace them. With the right service, tight deadlines, and complex assignments can feel far less overwhelming.